
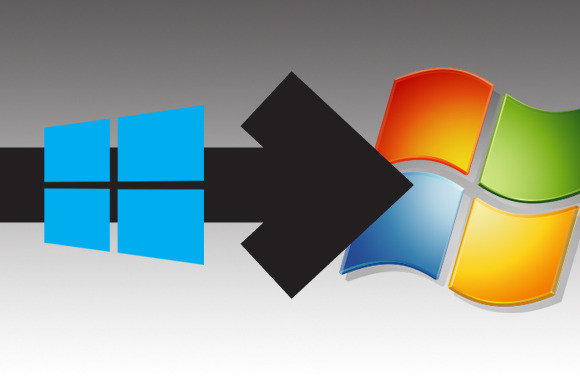
Wondering how To Restore Windows 7 from Back Up? Well if you wish to restore your Windows 7, here are some of the steps you have to undertake.
In the event that you do not have the retail disks with you, you can easily restore Windows 7 back up by carrying out the steps provided below:
Step 1: It is impossible for you to uninstall an already installed Window 8 Consumer Preview, you can still do Windows backup and restore. Click on the Start menu then click on My Computer. Once you are already in, double click on the Local Disk C and look for the folder named “Windows.OLD”.
- In the event that you have are not able to locate such folder due to the fact that it is not in existence, there is no way you can proceed to the second step. In order to push through the restoration process, it is a must that you first create the back up disk. Once you are done with that, you can easily restore or transfer the back up files to your old OS.
Step 2: After doing that, you should be able to locate the Windows.OLD folder by now. Once you do, right click on it then choose Properties from the list of options that would be presented to you. By doing this, you will be able to determine the amount of free space that the Windows.OLD folder contains. In the event that the amount of free space in the Windows.OLD folder is a lot larger, it may be impossible for you to restore to Windows 7.
Step 3: If it is lesser, then you can proceed to the next step– Insert the USB or your Windows 7 disk to your laptop or computer. Once you are given the prompt to start the installation process, restart your computer.

Step 4: Once you have seen the Install Windows Box, choose your preferred settings including the date as well as the time. Take a look at the left side of the bottom panel and you will see a prompt saying “Repair Your Computer”. Once you do, click on it.
Step 5: After a few seconds, you will be able to see a dialog box system Recovery Options. Once you do, click on the Windows 8 developer Preview then click on the Next button.
Step 6: After clicking on Next, a Command Prompt will appear. Click on it as it will begin the Windows 7 restoration process.
Step 7: Once you are in the Command Prompt, enter in the drive type where you have installed the Windows 8.
Step 8: Copy and paste the information from the Windows.OLD folder and key in the commands given below:
move /y D:windows.oldwindows D:
move /y “D:windows.oldprogram files” D:
move /y D:windows.oldusers D:
(Note: Always press ENTER after you key in every command.)
Step 9: Look for which drive the Windows 7 is installed then type the following command: D:bootbootsect /nt60 c: (for Windows Vista users) or D:bootbootsect /nt52 c: (for other versions of Windows).
Step 10: After doing that, key in bootbootsect /nt60 D:. This will start restoring the boot sector of your previous installation.
Step 11: Enter Exit then restart your computer. Do not forget to eject the disk first.