
A number of Mac users who upgrade their MacBook with OS X Yosemite are better off using OS upgrade feature through Mac App Store. According to many OS X users, this is a much reliable as well as perfect solution for the upgrade to OS X Yosemite. However, there are a fair number of Mac users who prefer to perform a clean install of Mac OS X, which is a step by step procedure that involves formatting the whole disk drive, fresh installation of brand new version of Mac OS X Yosemite and then retrieving the complete data from back up.
Though the clean installation of OS X Yosemite is not a complicated procedure, however, it does take time and is also considered as a professional installation technique by many Mac users. Comparatively, it’s a lengthier process than upgrading through Mac App Store.
Here is an elaborated step by step procedure for those who would like to install a fresh copy of Mac OS X Yosemite without any previous preferences or settings copied over.
Requirements:
The requirements are fairly simple:
- Any Mac machine can support Mac OS X Yosemite which previously supported Mavericks.
- A bootable installer drive which can be USB flash drive, is also required, though it can be any kind of drive as long as its bootable. It is also recommended to perform the disk partition first, in order to avoid any complications during installation.
Since the idea is to perform a clean install, it certainly means that the hard drive needs to be completely formatted, therefore, do ensure that your important data is backed up in a drive.
Fresh Installation of OS X Yosemite on Mac
- A user can back up important data in passport drive or with Time Machine, which is a built in feature to back up important data.
- Connect the bootable drive with OS X Yosemite installer with the machine, and restart
- While the system restarts, hold on to OPTION key till a boot menu pops up on the screen. Select “Install OS X Yosemite” option
- Choose “Disk Utility” when “OS X Utilities” appears next on screen
- Select the local hard drive from the left side, where a fresh copy of OS X Yosemite will be installed, and click “Erase”
- Please ensure to select the format type as “Mac OS Extended (Journaled)” and provide any name for the hard drive. Once “Erase” is clicked, it will format the drive and its previous partitions completely.
- Once the drive is completely formatted, exit from the disk utility option, which will bring back OS X Utilities back on your screen.
- The next option to select is “Install OS X” from OS X Utilities menu
- Once “Install OS X” is clicked, the Terms and Services will appear, where the adequate hard drive needs to be selected, which was named few steps back while formatting the hard drive.
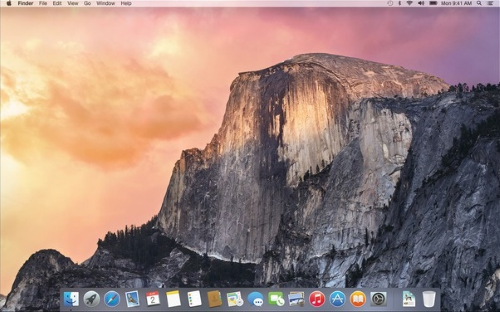
Once these steps are performed, a clean copy of OS X Yosemite will be installed on your Mac machine on the formatted hard drive, giving you a brand new look of your desktop. Since the drives have been formatted before the installation of OS X, there are no upgrades or data copied from previous version to the fresh version. In addition, you would also restore your data which was backed up before formatting the hard drive.
As mentioned earlier, the clean installation of OS X Yosemite can be a lengthy process; however, it still takes less time than upgrading from previous version to current version of OS X. In addition, if the installation appears to be stuck at any point, its better to hang on than restarting the whole process.