
Have a lot of contacts unorganized? Here are some easy tips to group and organize and your address book contacts in your iPhone.
If you wish to create a group in iPhone 4S, here are some steps you should follow:
Create contact groups in iPhone via PC
Step 1. Connect your iPhone to the PC.
Step 2. The iTunes will then start automatically. In the event that it won’t, launch the application yourself.
Step 3. Go to the Devices option which is located in the left side of your iTunes panel. After that, click on the ‘Info’ tab an place a check on the check box beside the “Sync contacts with” option. You will then be able to see double arrows, click on it then a drop down menu will appear, look for the “Outlook” then select. Click on the “Sync’ options then the syncing process between your iPhone and the Microsoft Outlook will start.
Step 4. Launch Microsoft Outlook application, look at the “Personal Folders” list then click on “Contacts”. Right click then choose the “New Folder” option. Type the name you wish to label your group then hit OK. Drag and drop all the contacts you would wish to include on that group. Repeat the process for other contact groups you wish to create.
Step 5. return to the iTunes panel, then click on the ‘Info’ tab. Click on Advanced then place a check on the box beside the ‘Contacts’ option. As a result, your iPhone contact would be replaced with the new groups that you have created.
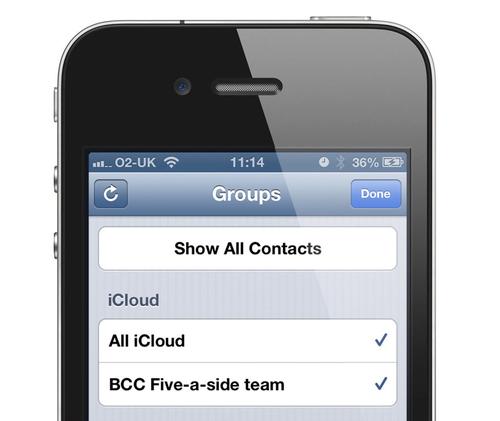
Step 6. Take a look at your contacts. At the top left, you will find the “Groups” button, click on it in order to take a look at contacts under your new group.

Create Group Contacts in iPhone via Mac.
Step 1. Connect the iPhone to your Mac.
Step 2. The iTunes will then start automatically. In the event that it won’t, launch the application yourself.
Step 3. Go to the Devices option which is located in the left side of your iTunes panel. After that, click on the ‘Info’ tab an place a check on the check box beside the “Sync contacts with” option. You will then be able to see double arrows, click on it then a drop down menu will appear, look for the “Address Book” then select. Click on the “Sync’ options then the syncing process between your iPhone and the Apple Address Book will start.
Step 4. Launch Address Book application, click on File then click on ‘New Groups”. Name the group. Drag and drop all the contacts with the use of the Window Pane. Repeat the process for other contact groups you wish to create.
Do the Steps 5-6 of the above process.