
While we all want to make money online, activating Google Adsense seems to be the only and most credible way to fill up the bank account with some fortune. Here are quick simple steps on how to create a Google Adsense account.
We all go through a point in time where we wish if we could just make a little extra through a legitimate and legal source. While hoping that, we also start searching on what possibly could be that one source, which gives the maximum ROI.
Being part of the digital age, setting up a blog of your or any digital presence for that matter can turn out to be the best answer to all those ‘how to earn a little extra’ type of questions.
Today, we assume you have set up your own blog or site and want to focus on the monetization part. Though, there are several other routes to take on to make it rain in the digital world, but let’s understand how the most credible source – Google’s Adsense works.
When you setup an Adsense account, it essentially means that relevant digital ads (based on banner size you select to allot on your website) will show-up. Now, one must be wondering, how do they actually show up? Well, the simplest answer to it is that as there is a Google Adsense account, there is also a Google Campaign account where you pay to run add campaigns. But anyway, we can cover that part of how to setup a Google ad campaign in another post.
Before we move on to sharing a quick guide on how to create your Google Adsense account, make sure you pass through the following pre-qualifiers while you setup your Google Adsense account:
- You should be 18 or above to setup and receive payments through your Google Adsense account. If you are under 18, you can always have it setup under a parent’s or guardian’s identity.
- Your website / blog must show legally accepted content.
Once you have checked that, you can follow below quick steps and create your Google Adsense account:
Step 1: Adsense Sign-up

It is always advised to sign up with your domain’s registered ID. For example, if the domain is zahidpedia.net you should have an ID registered as adam@zahidpedia.net and sign up with that for Adsense account. If you don’t have a specific domain registered ID, you can always register through a Gmail account.
Step 2: Enter your website’s details

While you sign up for Google Adsense, as a very next immediate step, you will be required to enter / share details for your website – including a web URL, the primary language you have chosen to present content and then, a final agreement to adhere to terms and conditions laid by Google Adsense.
Step 3: Submitting your Adsense application

This is where you mostly share your contact information. While setting up Google Adsense, few contact details including Country or territory you belong to, your current time zone, the account type you want to register – be it an individual account or a business account, a payee’s name (should be the same as the one of the bank account holder’s title) and such other typical contact details.
Step 4: Acceptance to terms and conditions

As you sign up for Google Adsense account, share you website’s address, contact information, you will then be presented with standard terms and conditions which every publisher must agree to in order to setup a Google Adsense account.
Step 5: Payment details verification

While the standard terms and conditions are presented, one must check all three check boxes to comply with the policies. Once its done, the next step to complete the process is to confirm your email address and set payment preferences. While you complete it, you will receive an auto generated Adsense code which you need to put on your website. As you do, Google will then review your application again after you put the auto generated code in to your site.
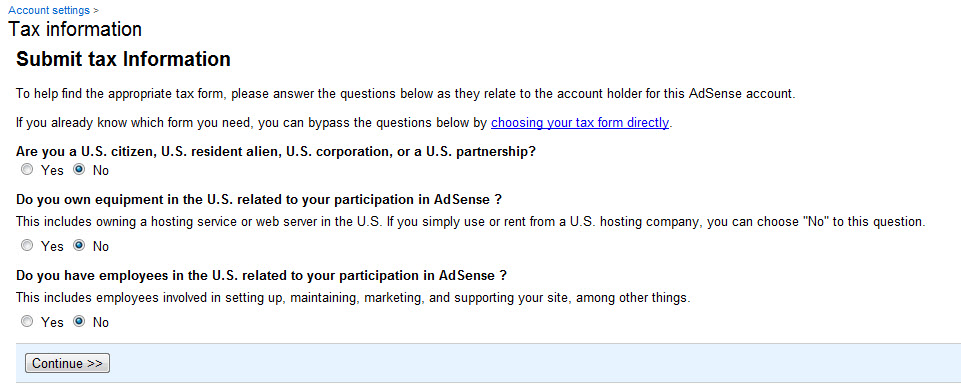
As a last and final step, after the approval of application, you need to provide your new auto generated Adsense PIN code and tax information before you start getting paid.